Install
Screenshots below are full-bleed captures (1280×720) of the same Subiquity / console look — no phone photos of the monitor.
Boot from USB
- Plug the USB into the target machine; connect display, keyboard, and Ethernet.
- Power on. Open the boot menu (often F10, F12, or Esc; BIOS setup often F2 or Del — varies by vendor).
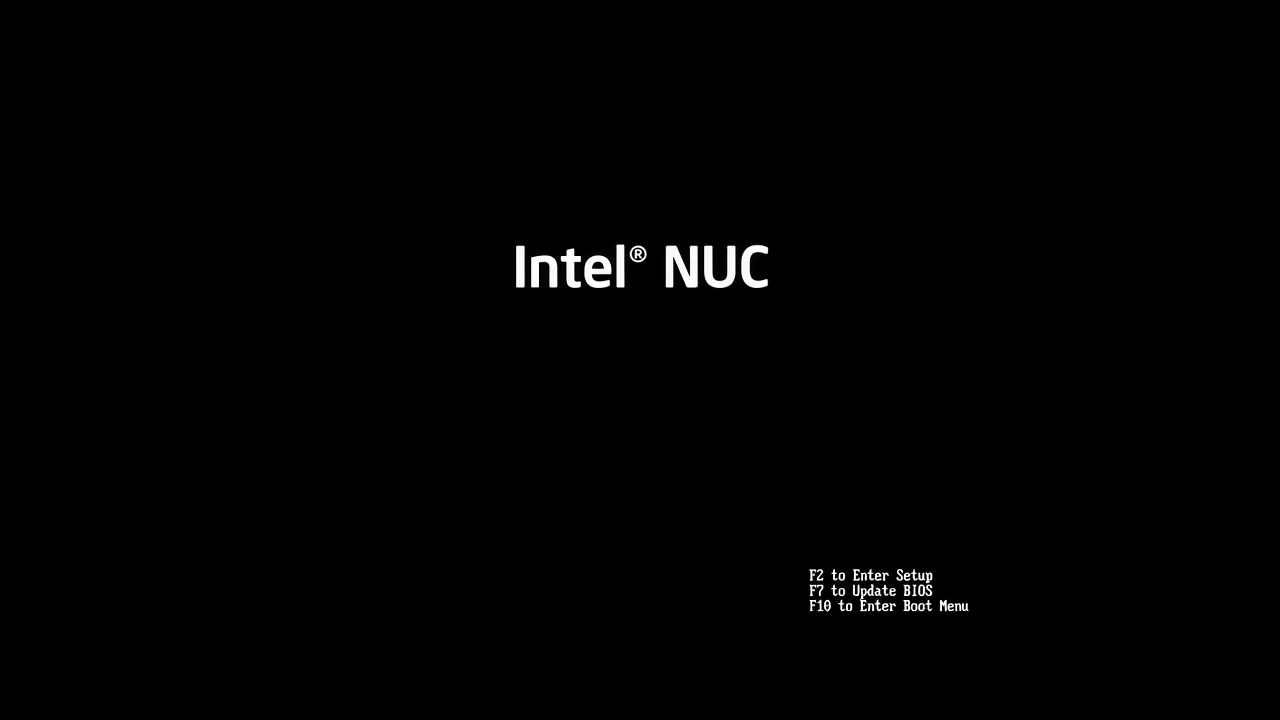
- Boot the USB in UEFI mode when both UEFI and legacy appear.
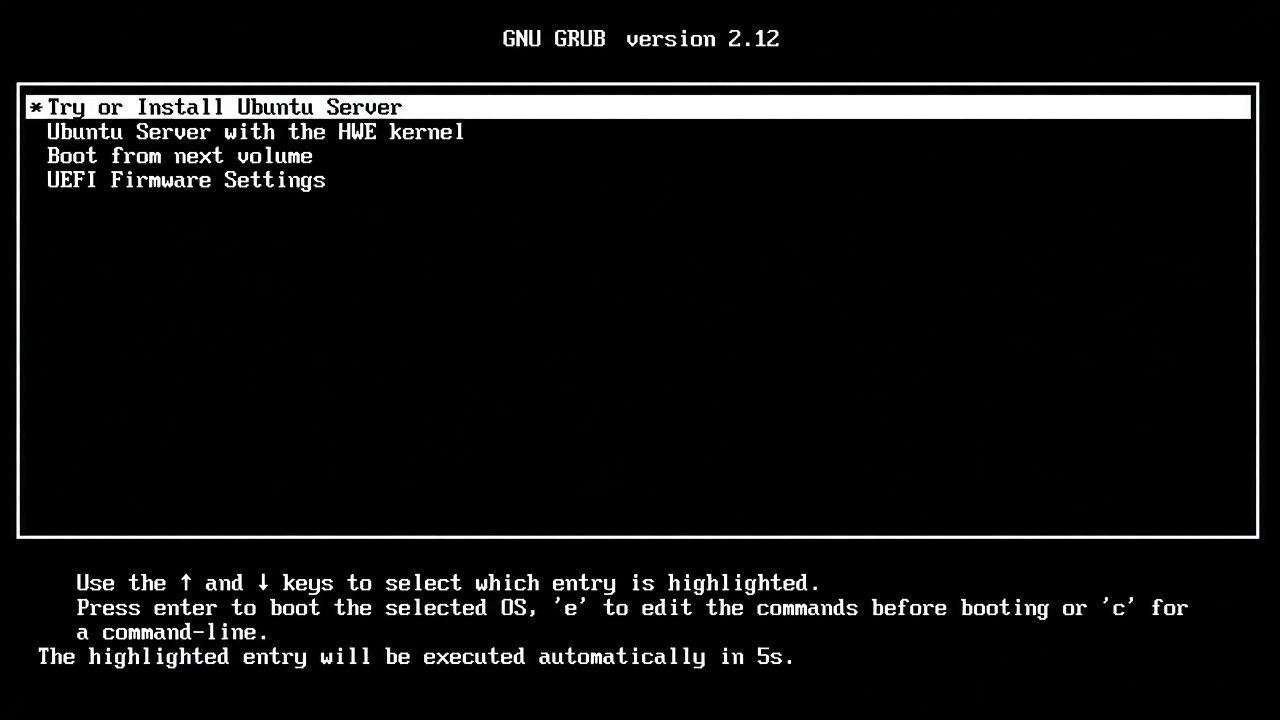
- At GRUB, choose Try or Install Ubuntu Server.
Subiquity choices
Move with arrow keys; Enter to select; spacebar to toggle checkboxes.
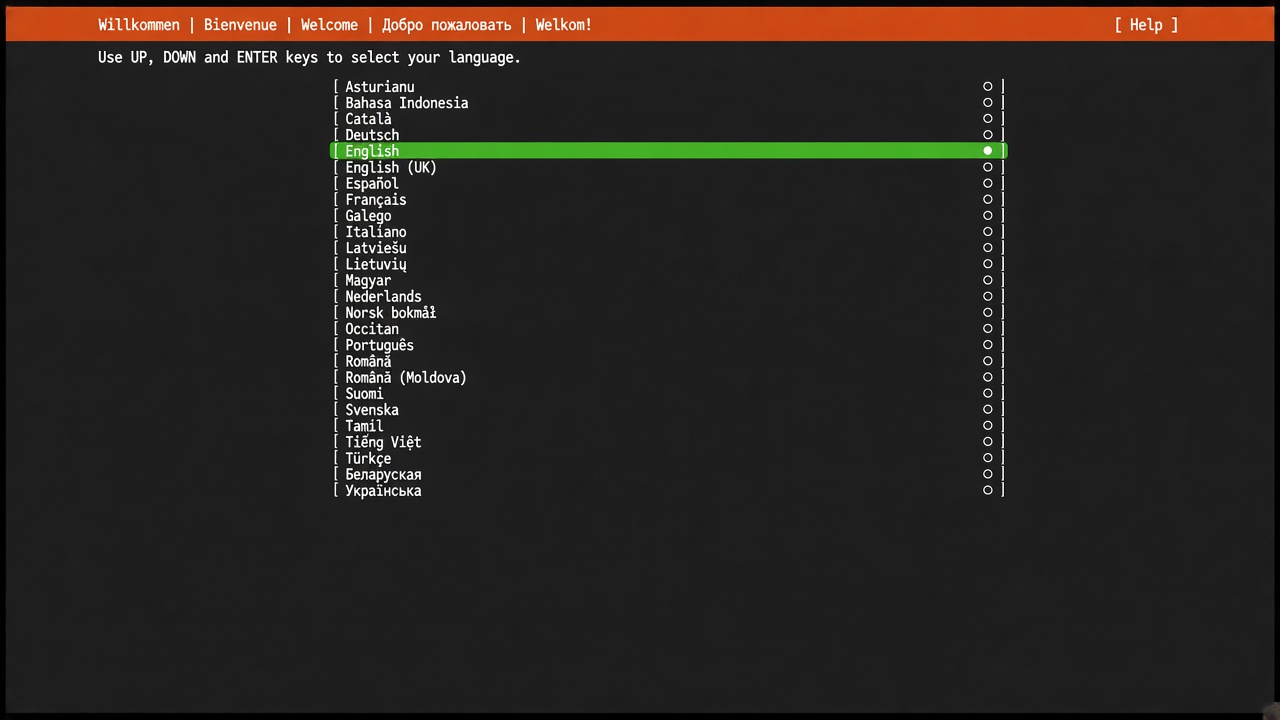
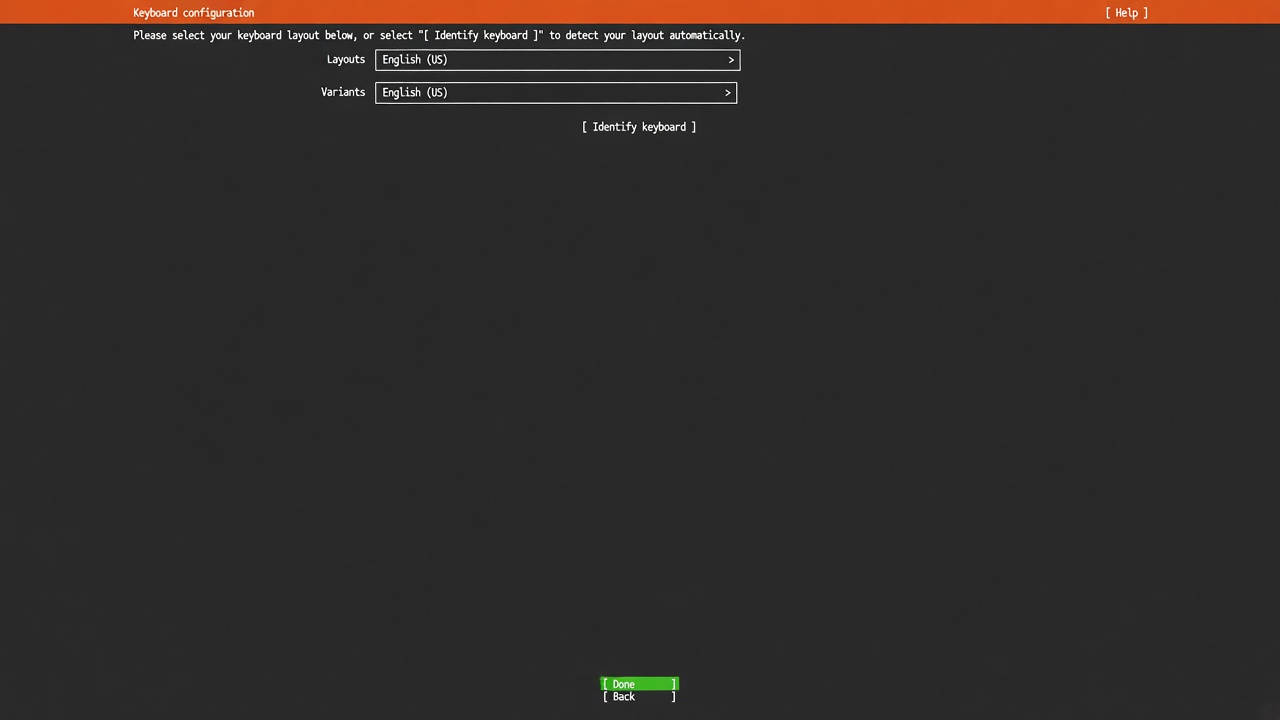
Table rows match the screenshots below (same order).
| Screen | Choice (as in the image) |
|---|---|
| Language | English |
| Keyboard | English (US) |
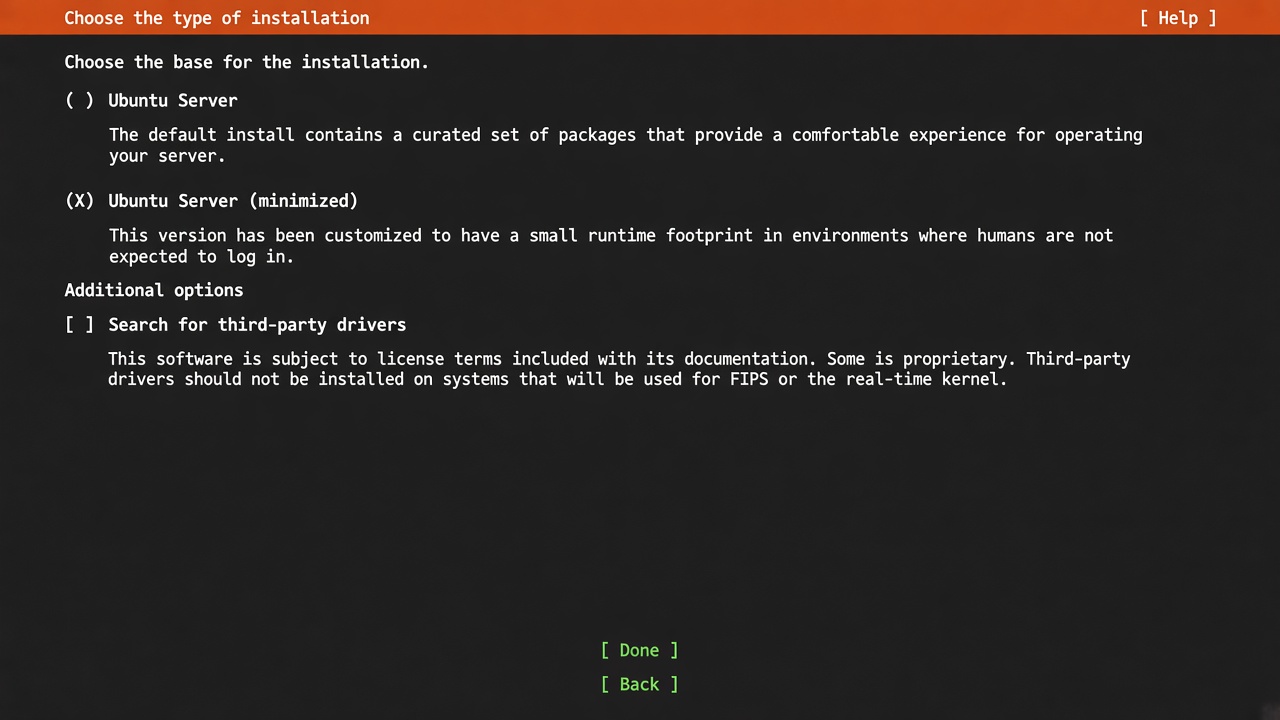
| Install type | Ubuntu Server (minimized); third-party drivers unchecked |
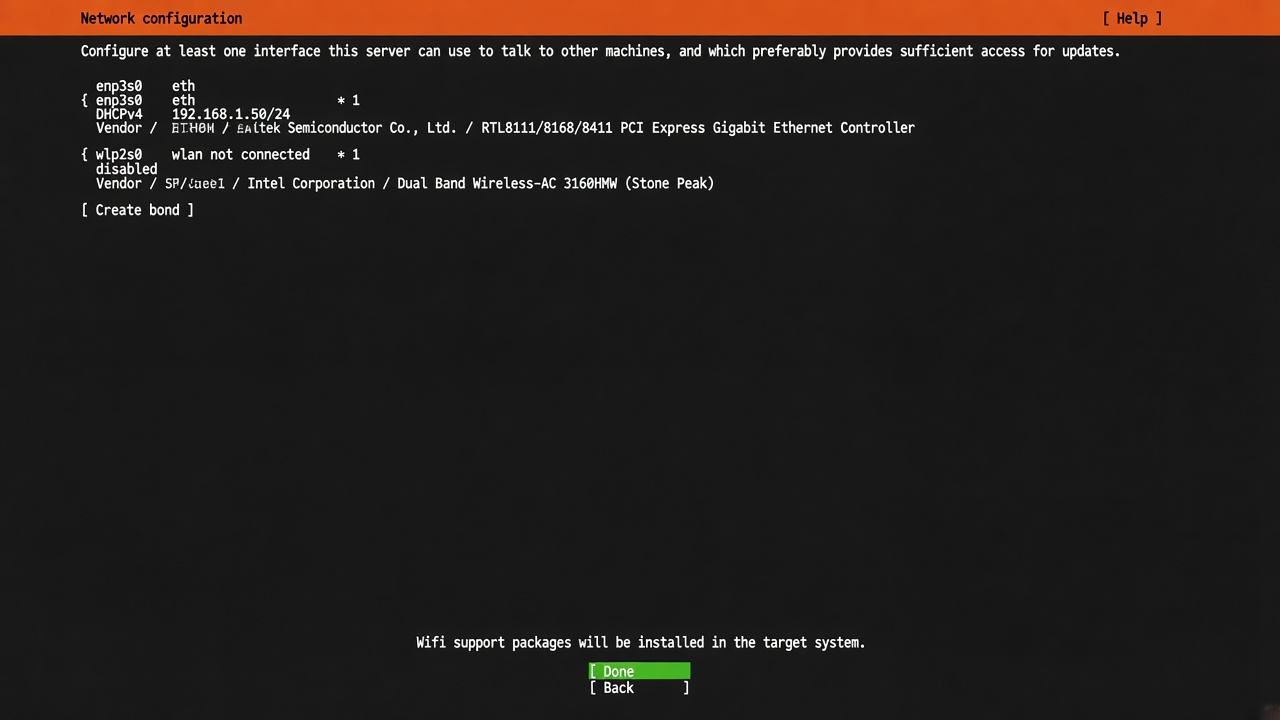
| Network | enp3s0 DHCPv4 (example 192.168.1.50/24); leave Wi‑Fi unused |
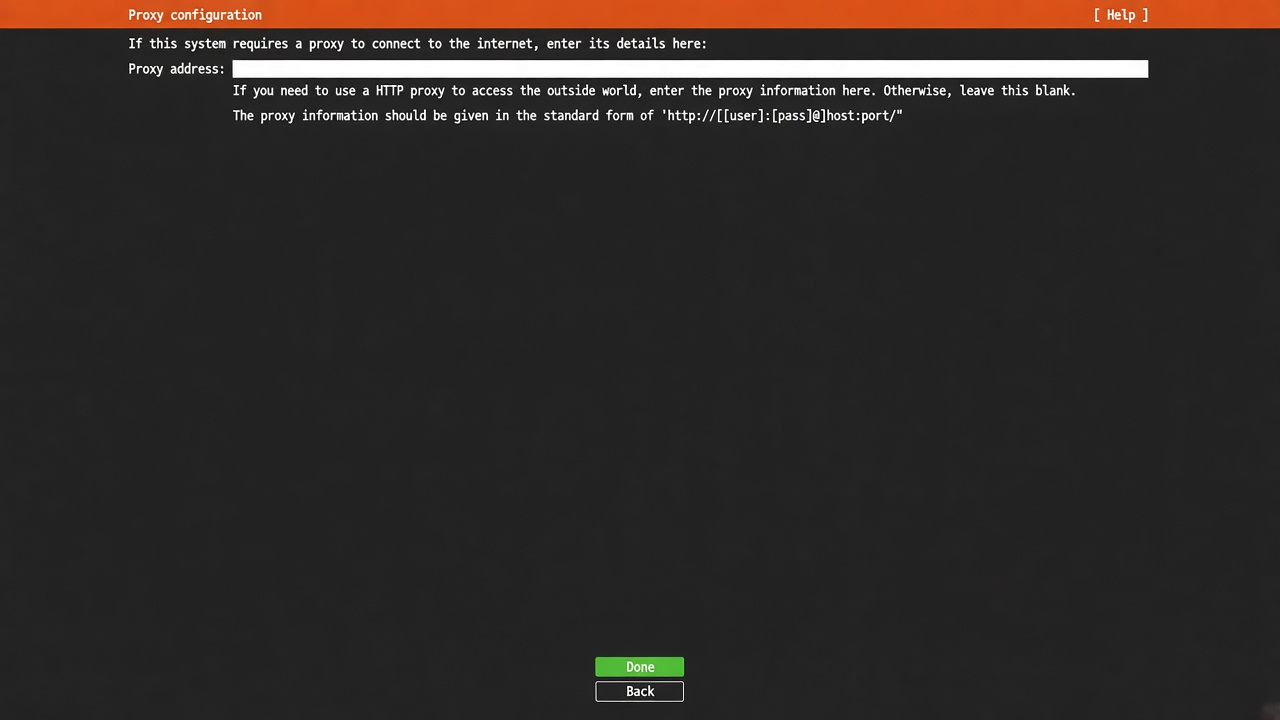
| Proxy | Proxy address blank |
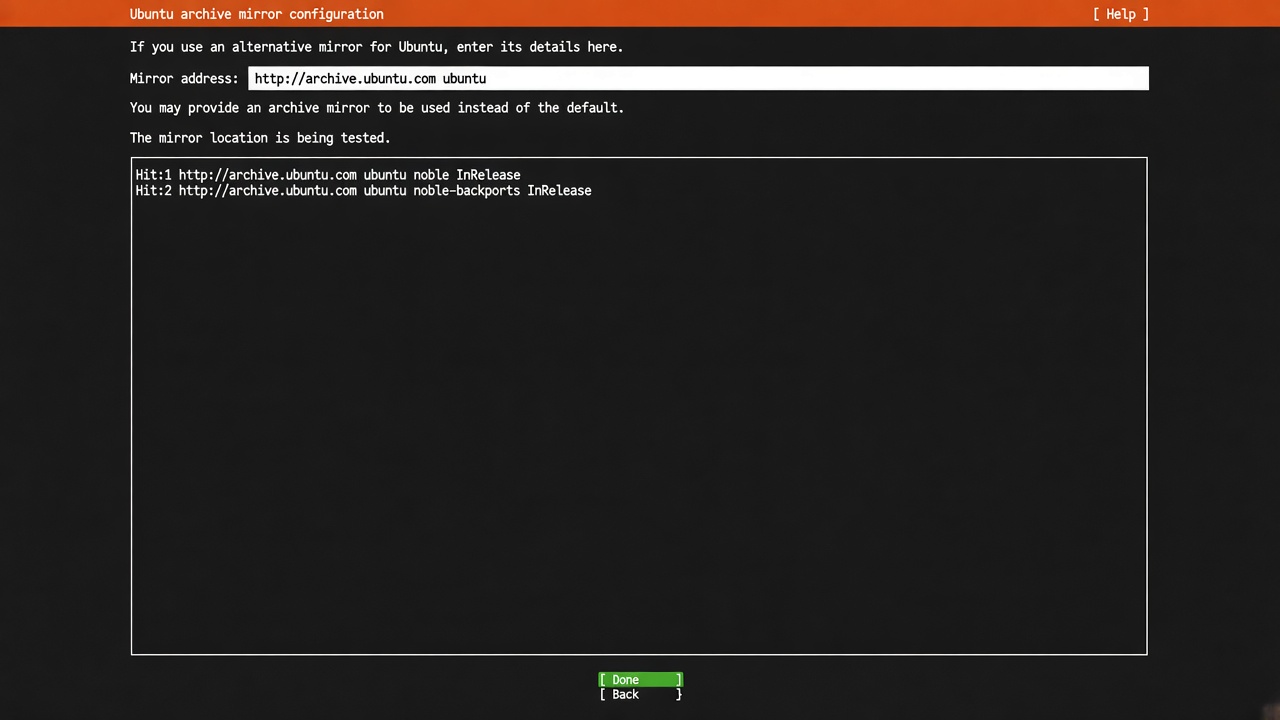
| Mirror | Accept default / tested mirror → Done |
| Storage | Entire internal disk; grow ubuntu-lv before Done (default leaves ~half free) |
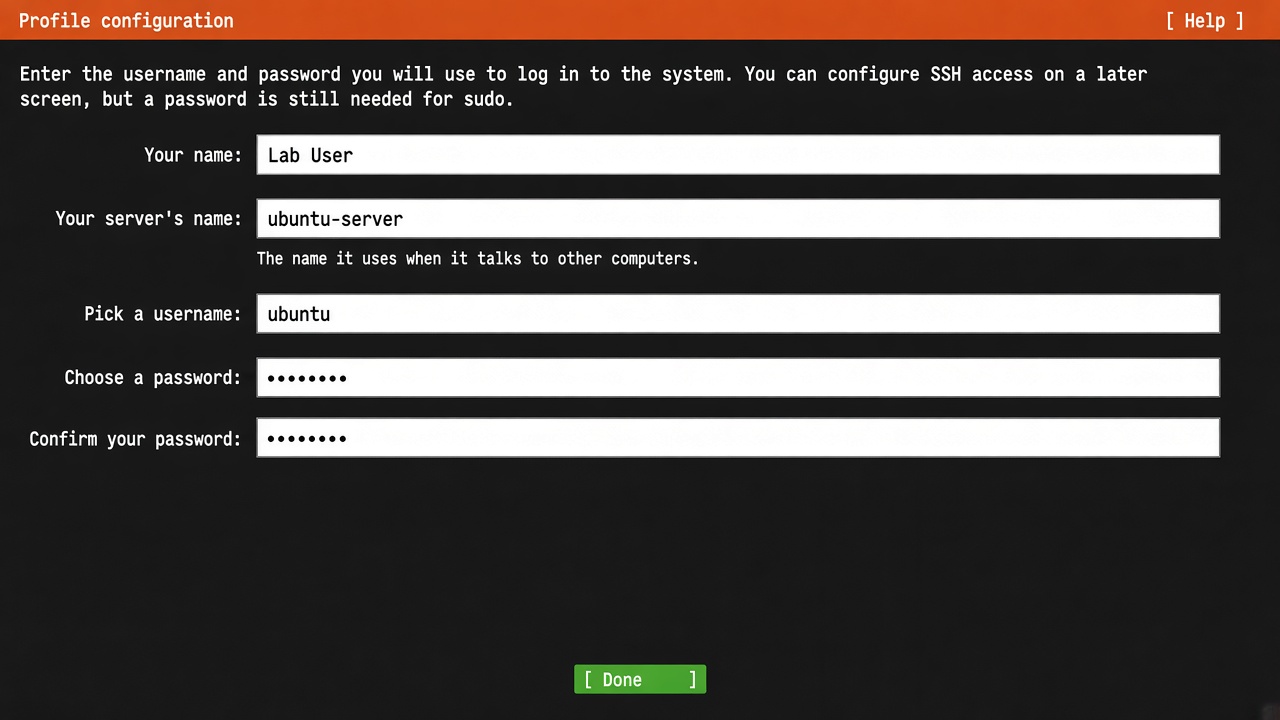
| Profile | name Lab User, hostname ubuntu-server, user ubuntu, set a password |
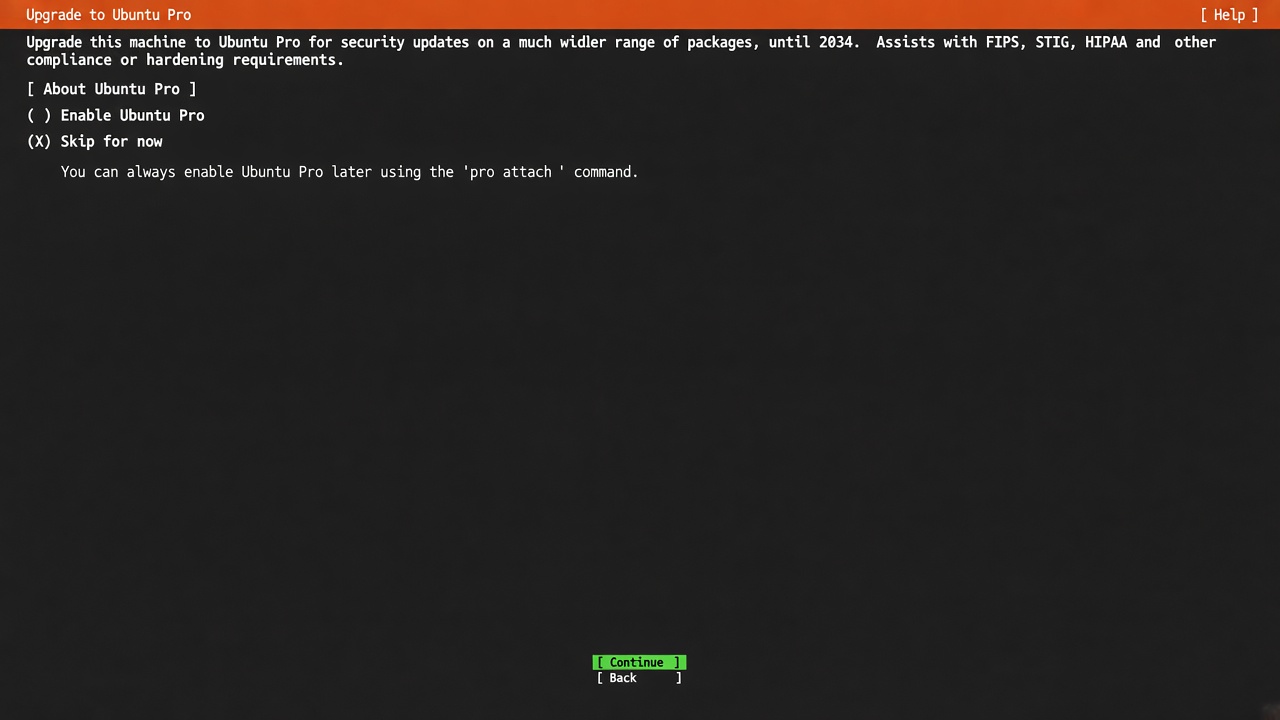
| Ubuntu Pro | Skip for now |
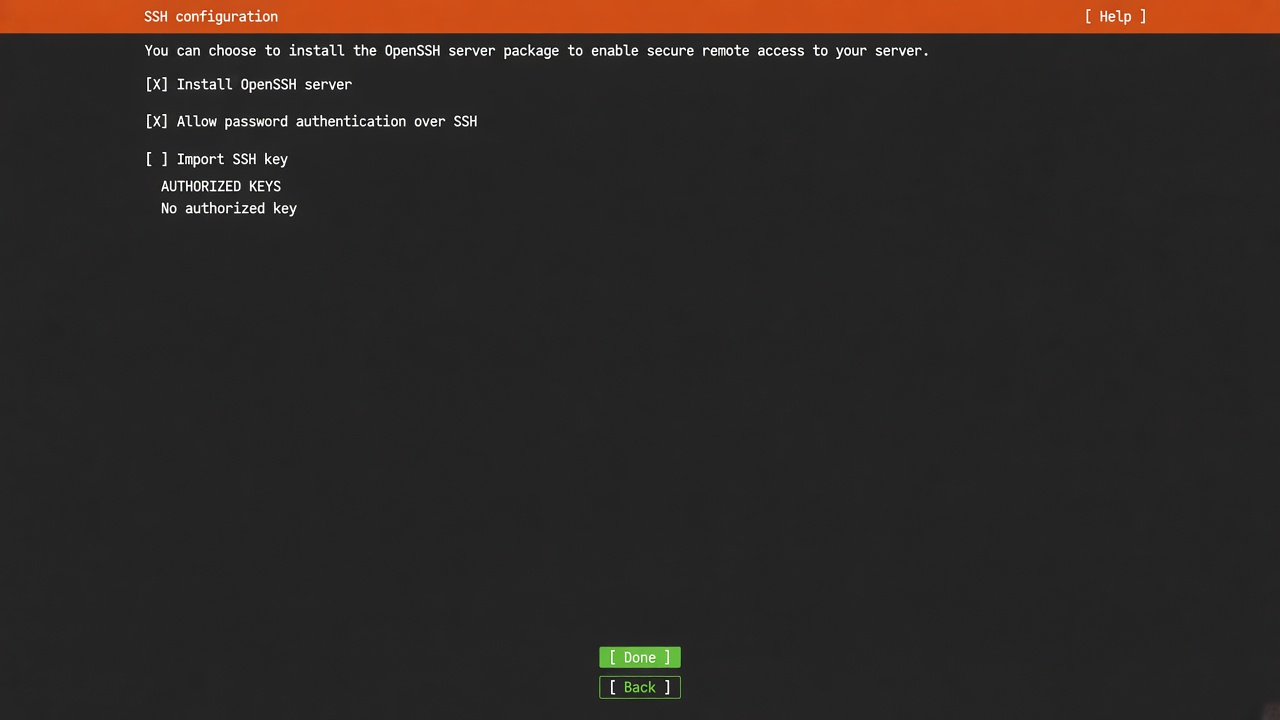
| SSH | Install OpenSSH server + Allow password authentication over SSH |
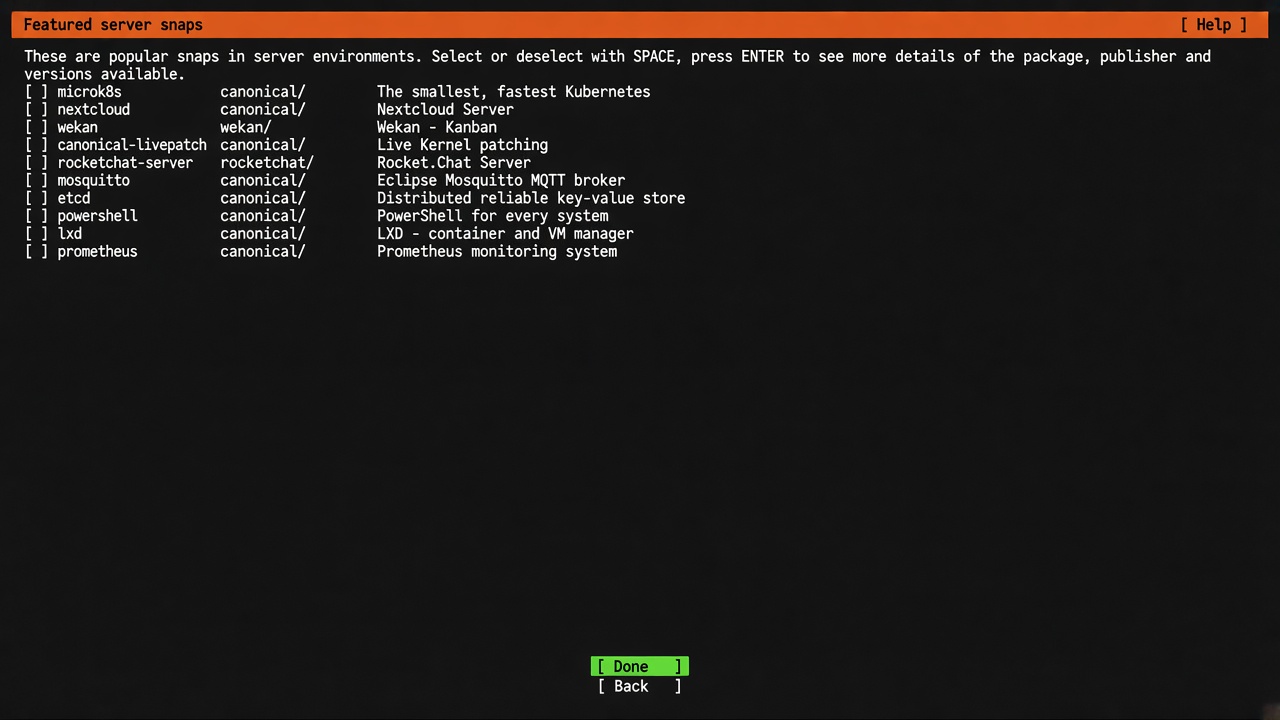
| Featured snaps | None checked → Done |
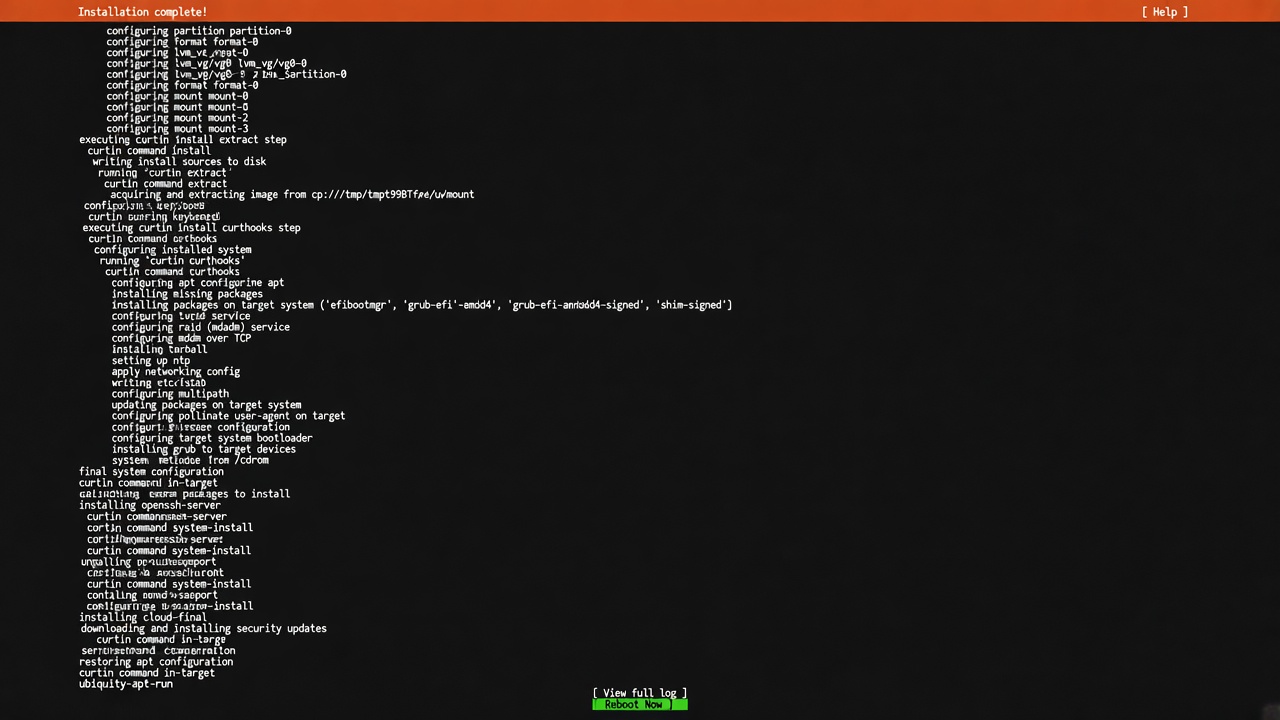
| Finish | Reboot Now, then remove media |
Language
Keyboard
Install type
Choose Ubuntu Server (minimized). Leave Search for third-party drivers unchecked.
Network
On wired Ethernet, accept DHCPv4 and note the IPv4 for later SSH. Leave Wi‑Fi disconnected unless you need it.
Proxy
Leave Proxy address blank unless you need an HTTP proxy.
Mirror
Accept the suggested mirror (installer tests it) → Done.
Storage
Use an entire disk on the internal drive (not the installer USB).
The shot below is the default layout: ubuntu-lv ~half of ubuntu-vg, with
free space still listed. Before Done, highlight ubuntu-lv →
Enter → Edit → set Size to the full VG capacity (or clear/max) so
free space is gone.
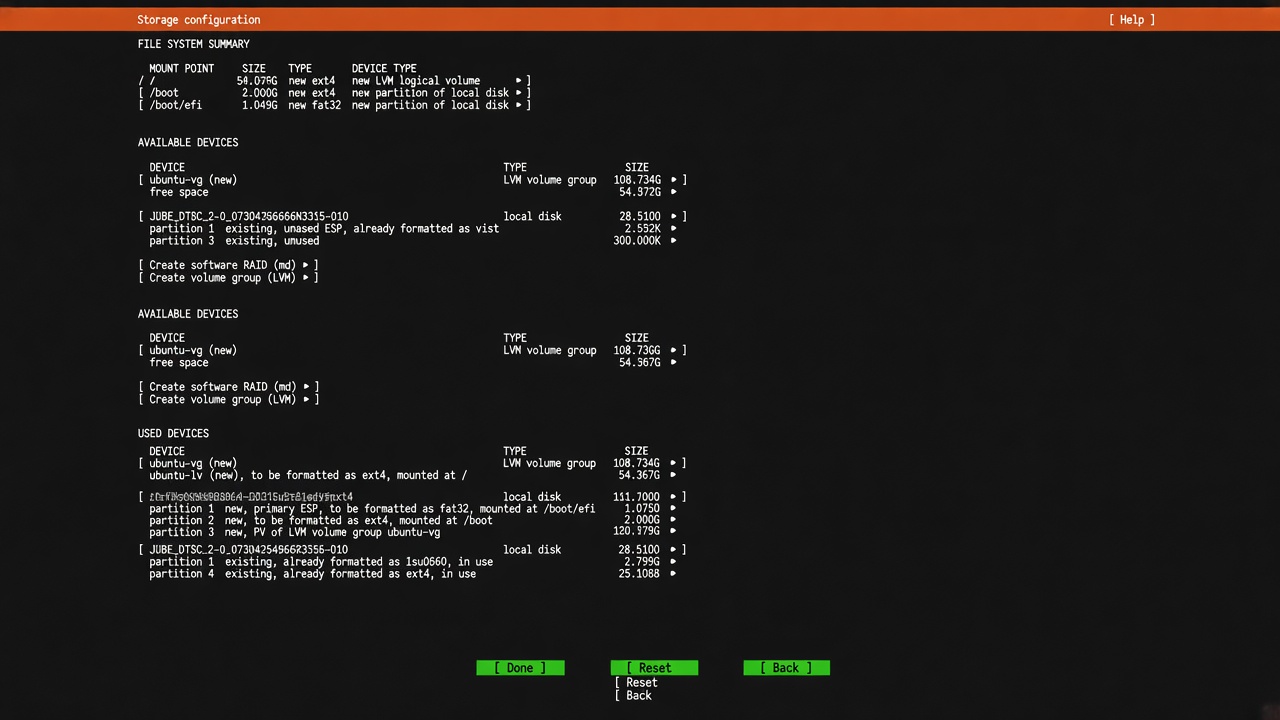
Entire disk
Use an entire disk erases that drive. Confirm you selected the machine’s internal storage, not the installer USB.
Profile
Ubuntu Pro
SSH
Check both Install OpenSSH server and Allow password authentication over SSH.
Featured snaps
Leave all unchecked → Done.
Finish
Wait for Installation complete!, choose Reboot Now, remove the USB when asked, then boot from disk.
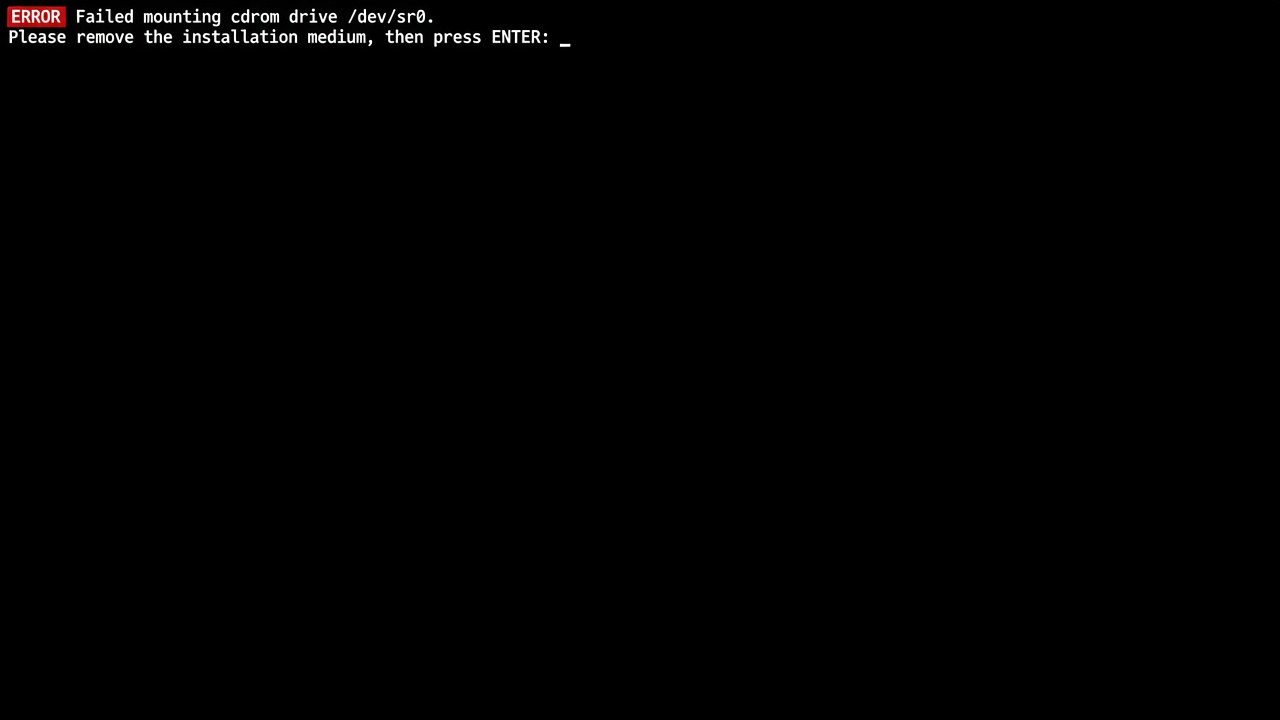
Pull the installer USB out, then press Enter. A red
Failed mounting cdrom drive /dev/sr0 line here is normal after the stick is
gone — it is not an install failure.